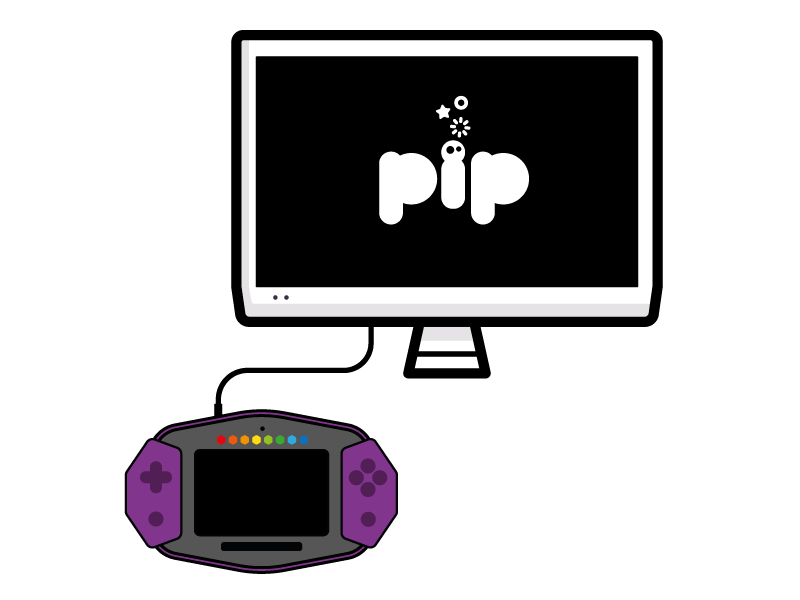
Connecting to External Monitor #
Pip can connect to an external monitor or TV through the built-in HDMI port. To get Pip to work with an external screen, you need to replace the existing config.txt file and details on how to do this are given below.
Config Files #
You can only have one screen active whilst using Pip. By default, this is the built-in LCD and all the images supplied (PipOS and RetroPie) have been set-up by default to work with the LCD.
To get Pip working with an external monitor, simply replace the config.txt file with one that has been customised for HDMI. Download the required file below, then follow the instructions below to replace the config.txt file.
- Safely remove Pip’s MicroSD card and insert it into your computer/laptop using a suitable adapter.
- Download the HDMI config , or the LCD config file
- Save this file to the boot partition of Pip’s MicroSD card, overwriting the existing one.
- Safely eject this card, re-insert into Pip.
- Connect and HDMI cable to Pip and to your monitor and boot up Pip.
- You should see Pip booting up on the external monitor and Pip’s LCD will be switched off (although the backlight will be on).
Rather than constantly switching config files, we recommend having a separate MicroSD card for LCD and HDMI modes.