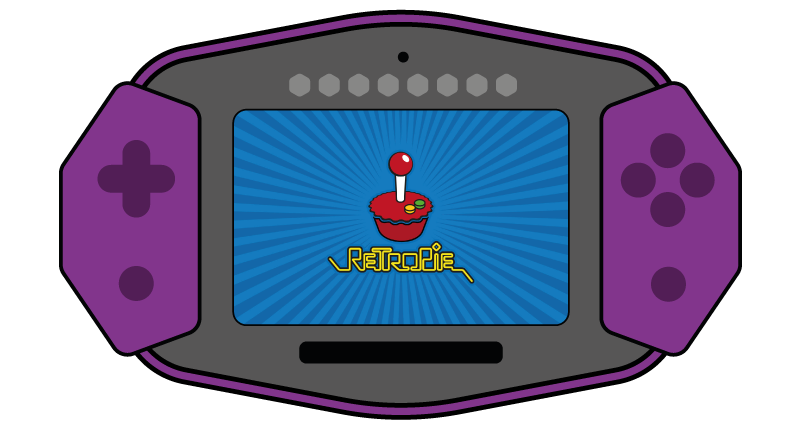
Retropie #
RetroPie allows you to turn Pip into a retro-gaming machine. Play all the old arcade, home-console and PC classics on Pip.
Downloading Retropie #
Without a few tweaks, the stock RetroPie image won’t run on Pip. You can download the Pip friendly version of RetroPie below.
Further information on RetroPie can be found on the official RetroPie website.
Burning a RetroPie Card #
Once you have downloaded RetroPie, you need to flash the image onto a new MicroSD card. The easiest way to do this is to use a program like Balena Etcher
- Insert a NEW MicroSD card into your computer/laptop using a suitable adapter (Do not write over your PipOS card)
- Launch Balena Etcher, click the Flash from file button and select the downloaded RetroPie image.
- Select the Target Drive (the new MicroSD card you just inserted).
- Click the Flash! button to flash the image.
- Once the process is complete, copy the wpa_supplicant.conf file (containing your WiFi details) to the boot partition of the newly flashed card. You can use the wpa_supplicant.conf Generator if needed.
- Safely eject the card and insert into Pip.
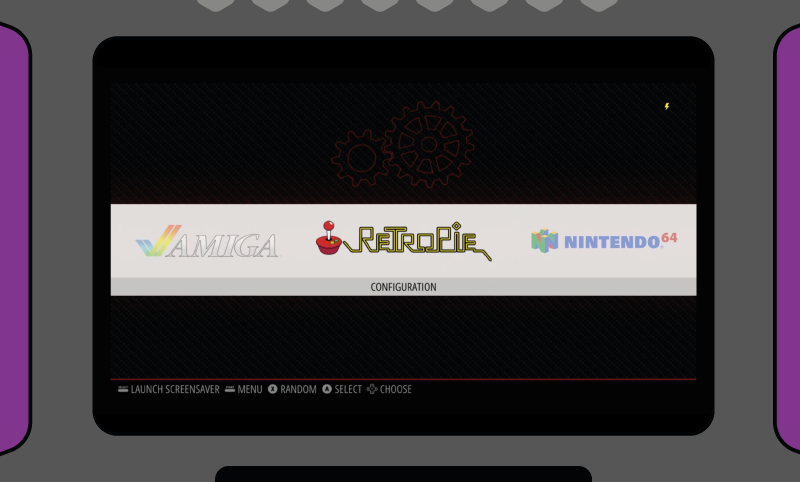
Once booted, you will see the main RetroPie home screen.
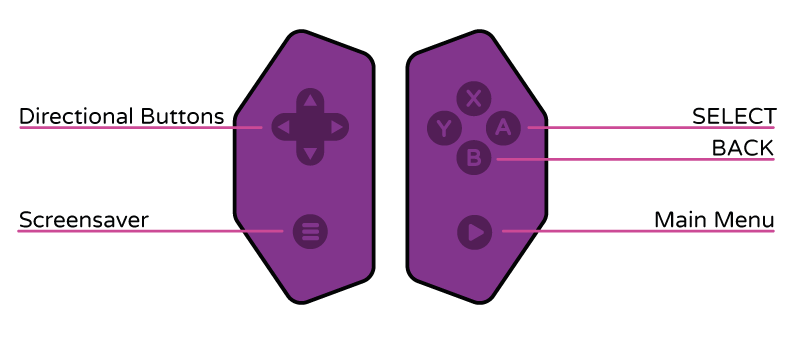
Button Functions #
You can configure Pip’s buttons any way you want in RetroPie. The default configuration is shown below.
Installing Games/ROMS #
ROMs are digital versions of game cartridges and loading up a ROM in an emulator is the equivalent of putting a cartridge in a game console. The instructions below are for uploading your own ROMs to Pip.
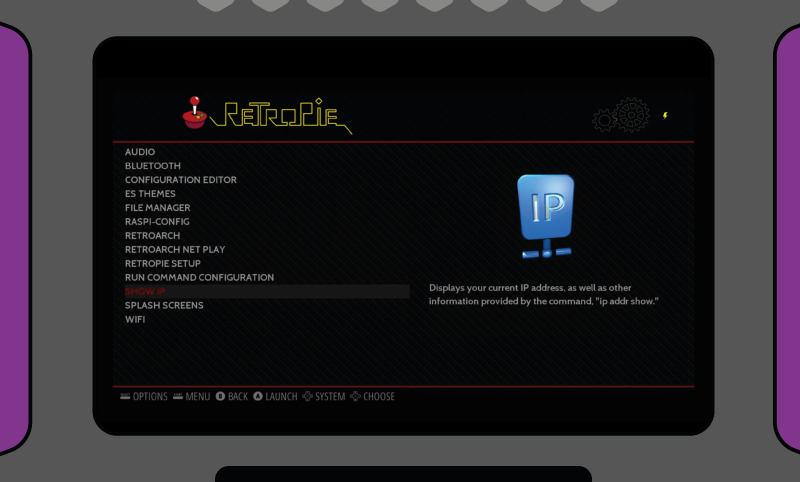
Before you start, you need to know Pip’s IP address. IP addresses can change between reboots, so it’s always good to double check it before proceeding. You can find the IP address by highlighting the RetroPie Configuration option (shown in image above) and pressing the A BUTTON to select. This will take you to the configuration menu, where you can access various settings. Select the SHOW IP option to see the IP address.
You can now install Games using scp - either via the command line, or a suitable FTP client. If you don’t already have an FTP client installed, WinSCP is a good option for windows and Filezilla is a good option for a Mac. Use the settings below to connect to Pip:
File Protocol: SFTP
Host Name: Pip’s IP address (e.g. 192.168.0.12)
Username: pi
Password: raspberry
Port Number: 22
Once connected, do the following:
- Double click on the RetroPie folder
- Double click on the roms folder
- Double click on the folder that corresponds to the emulator you are installing the game for
- Drag and drop the ROM into that folder
- Restart RetroPie and select the emulator to see the installed games
ROMs MUST be installed in the correct emulation folder for the games to work.
ROMs are copyrighted content and as such are not included with RetroPie.
Playing Games #
To play installed games, select the emulator you wish to play by highlighting it and pressing the A Button. You will see a list of the games you installed.

Scroll down the list to highlight the game you wish to play and press the A Button again to load it.
Exiting Games #
To exit the game and get back to the RetrPie menu, press and hold the MIDDLE BUTTON then press the MAIN MENU button on the controller.

Shutting Down #
To shut down Pip safely, press the Main Menu button on the controller to access the main menu. Select QUIT and follow the on screen prompts to shut down Pip.
You can now install Games using scp - either via the command line, or a suitable FTP client. If you don’t already have an FTP client installed, WinSCP is a good option for windows and Filezilla is a good option for a Mac. Use the settings below to connect to Pip: